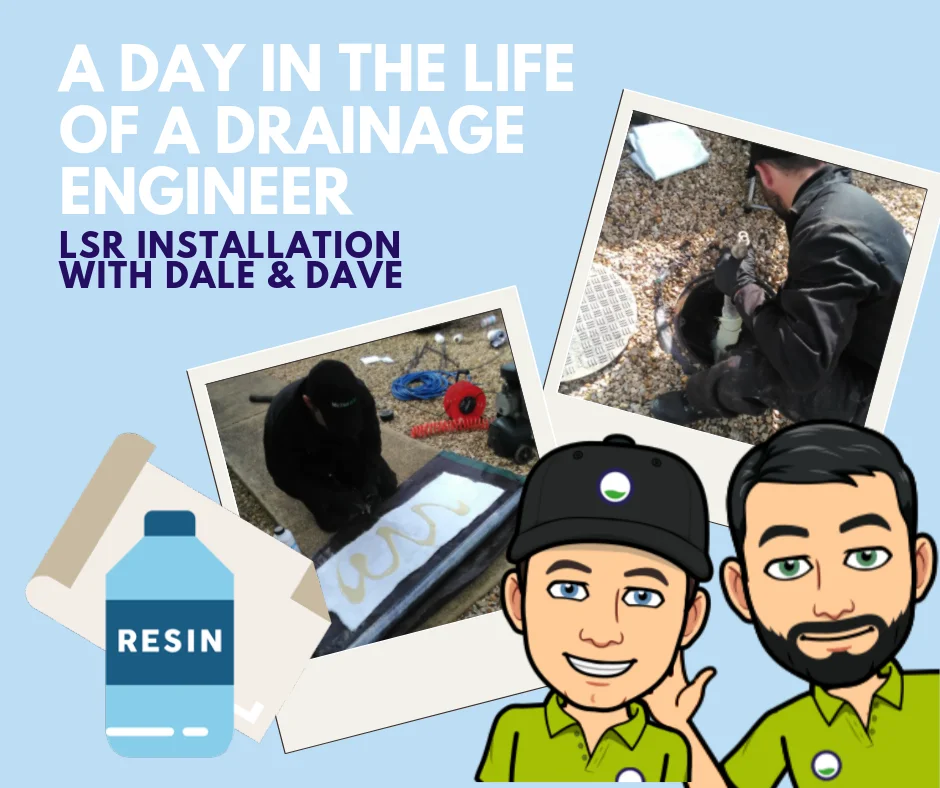
A day in the life of a drainage engineer – Installing an LSR with Dale & David
Today we have been out on the road with two of our specialist engineers Dale & David who have been out to a local college to repair some cracks in the drainage system.

The problems were identified when we completed a CCTV survey on the site which highlighted the fact that several of the pipes were suffering from cracks and fractures. These types of faults can often lead to recurring issues in the system so repairing them is the best option to avoid future issues and hefty emergency bills! In this case, the survey highlighted multiple areas requiring repair so Dale and David have certainly got their work cut out for them!
What is an LSR?
An LSR, or Localised Structural Repair, is the repairing of a pipe through the use of inserting a liner into a drain which is impregnated with resin. The liner or patch is moved into position by the use of a packer and once hardened creates a thin strong layer inside the existing drain pipe. It’s essentially like putting a huge, waterproof plaster on the inside of the drain which hardens to form a permanent seal to cover the damaged area and prevent further problems such as roots penetrating though or material becoming snagged.
How do we install an LSR?
Installing an LSR requires specialised training and equipment, along with a lot of patience! Today Dale and David will be starting work on a three-day job installing patches, and every single one needs to be prepared and installed with the utmost care. Here’s how they plan on doing it…
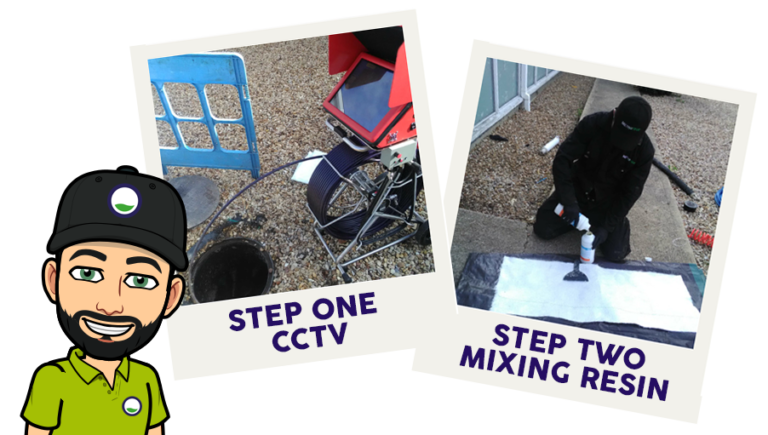
Once they have arrived to site, the engineers consult the report generated from the survey to locate the areas that are in need of repair. Once they have found the manholes they need to work from, a camera is re-inserted to check the exact location of where the repairs need to be carried out. This is then marked on the camera reel and also makes sure the drains are clear and a quick blast of water from the high pressure water jetter prepares the pipes ready for patching.
Once the locations have been checked, the packer is wrapped with polythene sheeting to make to removal of machinery easier after the patch has hardened. All sharp edges are covered with tape to make sure no rips can occur and then then the resin is mixed to the correct consistency ready for application on to the fibreglass matting.
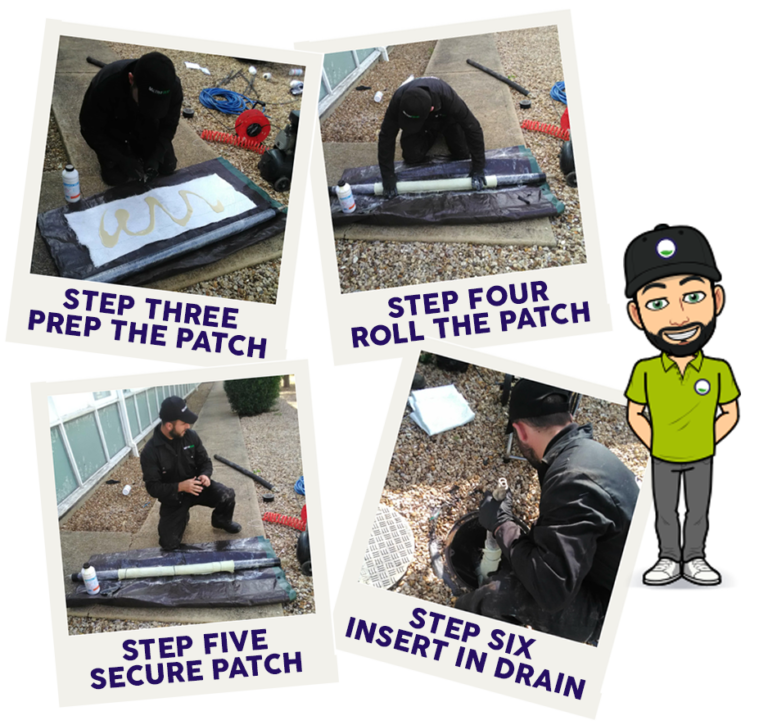
Once the resin has been mixed, it’s time to get the patch prepped. The resin is applied to the patch material and spread across in a thin layer, saturating the fabric until it’s thoroughly covered on both sides and can be rolled around the packer.
After the material has been prepared and rolled, it is secured into place around the packer with elastic bands. This stops any slipping and makes sure the patch will get placed exactly where it should be.
Now the packer is prepped, it’s ready to pop into the drain. The packer is fed into the system and is pushed through until it reaches the area where the damage is located.
Once the engineers have checked the location of the patch, it’s time to inflate the packer until the patch makes contact with the diameter of the drain. It needs to remain fully inflated for approximately two hours until the resin has completely hardened.
The final step is to remove the packer. The pressure is dropped to allow the packer to deflate, leaving behind the patch which is now ‘stuck’ to the inside of the drain. The polythene layer assists with the removal and stops the fibreglass from sticking to the machinery. The CCTV camera confirms that the patch has been successful and the equipment can now be removed.
Well that’s one down… Only a few more to go! Dale and David repeat this process with every patch, and will continue to do so over the next few days until all the fractures are repaired.
What are the benefits of LSR’s?
There are multiple benefits to localised structural repairs to your drainage issues including:
Time effective installation - our skilled engineers have been thoroughly trained in LSR installation and the work can be completed in a highly time effective manner compared to more traditional excavated repairs.
No digging required - our no dig solutions mean less mess and less disruption to your home or business.
Cost efficient and structurally sound – Installing LSR patches will once again restore the internal integrity of the pipework without the need for complete replacement.
10 year manufacturers warranty on the product
Minimum expected life span of 50 years –Our patches are expected to have an estimated life span of approximately 50 years, outlasting the expectation of many ceramic or metal based pipework!
If you’re interested in finding out more about our Localised Structural Repair techniques, please give us a call on 01472 859895 and one of our technical managers will be able to talk through your requirements and advise you on the best solutions for your needs.

We are always happy to arrange a free site assessment and no obligation quotations for any work you might need. Alternatively, you can call our emergency hotline number on 0800 66 88 00
Get in touch Drainage Services